
Bag Product Photography Brief: Accurate Views, Details and Buyer Handover
Prepare accurate bag product images with an approved sample, required views, component details and version-controlled files. Keep visuals consistent with the supplied product.

Prepare accurate bag product images with an approved sample, required views, component details and version-controlled files. Keep visuals consistent with the supplied product.
This guide is for OEM/ODM brand teams, importers and wholesale buyers developing an original bag specification. It addresses bag product photography brief supplier through decisions that can be documented, sampled and reviewed. A photograph or generic material name is not an approval standard. Define the intended use, compare the actual proposed construction and keep a controlled physical reference before authorizing production.
1. Identify the exact sample being photographed
Record the style, colour, drawing revision and component references before the shoot. Note whether the sample is production-intent or still contains temporary parts. A polished photograph should not silently become the listing image for a different final product. Connect the asset set to the accepted version.
Keep the purpose clear: ecommerce listing, wholesale catalogue, specification review or development discussion. These uses may need different images. This guide addresses the buyer’s handover brief, not a promise that Kaishi provides a particular photography service. Confirm the requested scope and any fees or permissions with Donna.
2. Define the required views by buyer questions
List the views needed to explain the actual bag: front, back, sides, base, opening, interior and relevant carry components. Include details that affect purchase understanding, such as strap attachment, pocket layout and closure. Do not add a view simply to increase image count if it does not answer a useful question.
Identify scale and measurement references where appropriate, but do not draw unverified dimensions into the final image. Confirm whether removable components are shown attached or separately. The buyer should be able to tell which accessories are included. An attractive image that obscures a missing strap or temporary hardware creates a misleading handover.

3. Keep light and background consistent
Shopify’s official photography guidance discusses a consistent setup and lighting as practical ways to produce clear product images. Apply that principle to the collection’s comparable views. Use the same orientation and framing where useful so colour variants or sizes can be compared without unnecessary visual distractions.
A consistent setup does not guarantee exact colour on every screen. Use physical swatches and sample approval for technical colour decisions. Keep photography separate from those records. Do not relabel an edited screen colour as proof that the supplied material matches an agreed physical standard under all viewing conditions.
4. Show construction honestly
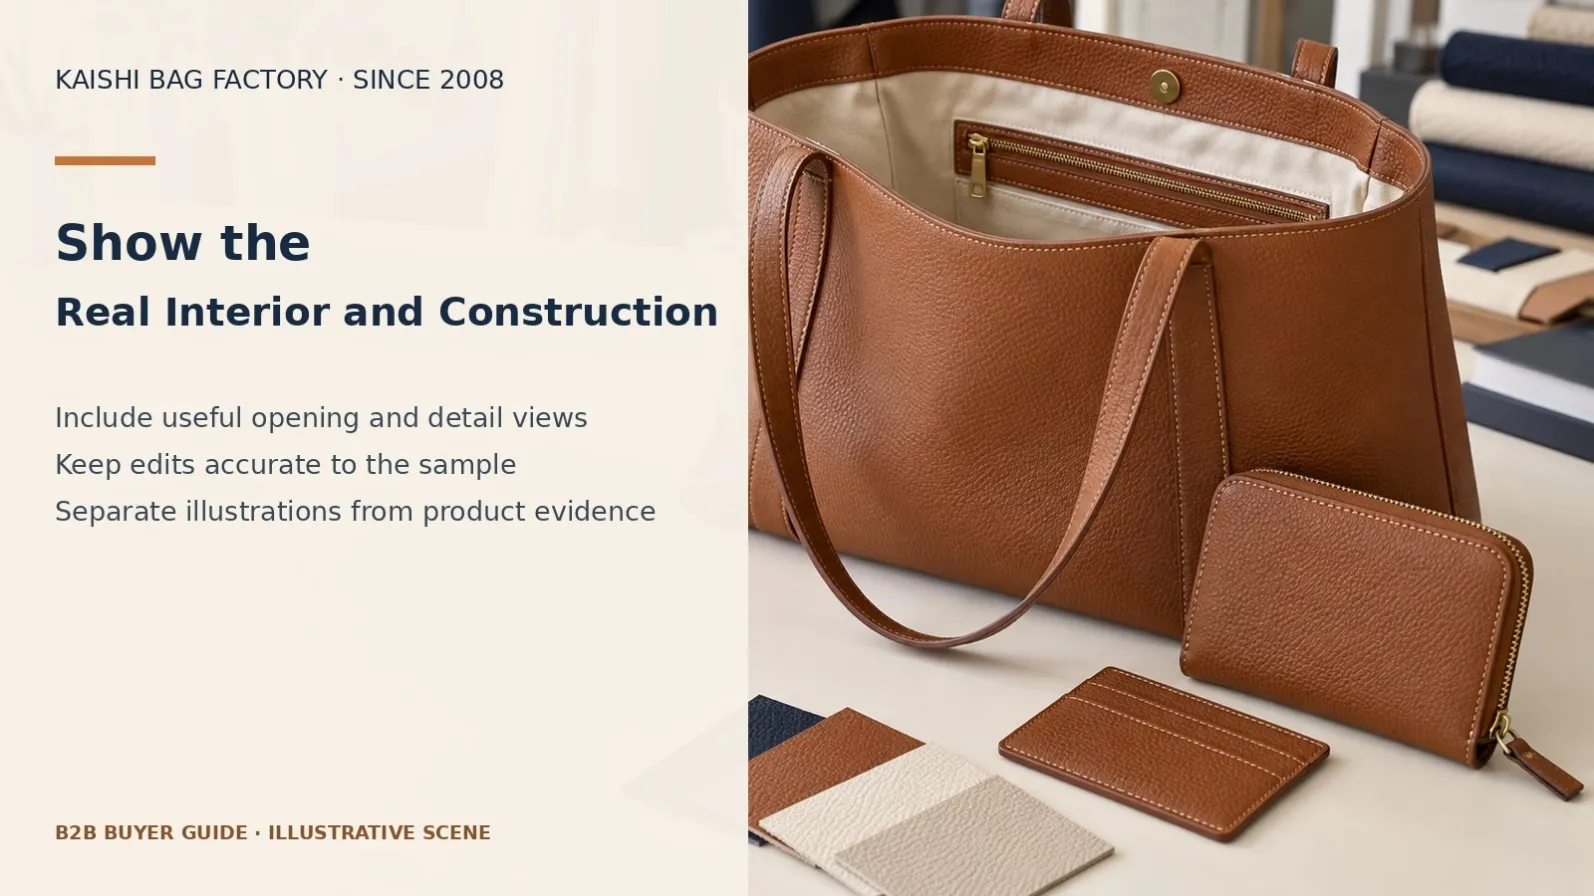
Capture the actual texture, opening and interior rather than substitute a generated scene for evidence of the supplied product. Generative illustrations can support an article when clearly identified, but should not be presented as a photograph of an actual factory, customer order or final SKU. Keep the asset type explicit.
Use retouching carefully. Background cleanup should not hide a construction feature, change pocket count, remove an included component or invent material texture. Preserve the original files and identify the approved edited versions. If the final sample changes, review which photographs need replacement instead of reusing a visually convenient image.
5. Create a view and file-delivery checklist
For every required image, record the sample identity, view, intended use, file name and approval status. Ask the buyer which platform dimensions or formats are needed, then confirm current official platform guidance. Shopify’s media documentation distinguishes supported media and image handling; requirements should be checked for the actual destination.
The table below is a suggested handover worksheet. Do not promise one file size or ratio works everywhere. Keep master images separate from platform crops, and avoid stretching a product to fit a layout. Record rights or permitted uses where relevant so a distributor does not infer unlimited reuse from simply receiving a file.
| Image | Explain | Handover check |
|---|---|---|
| Whole-bag views | Shape and visible components | Correct sample and variant |
| Interior | Pockets and usable opening | Actual accepted layout |
| Detail | Texture, closure and attachment | No invented feature or claim |
| Scale reference | Relevant measured dimensions | Verified values and context |
| Platform crop | Destination use | No stretching or lost key detail |
6. Approve the asset set against the product
Compare the images with the actual accepted sample and the written specification. Check variant identity, accessories, interior layout and visible details. Review the image text if measurements or claims are included. An incorrect dimension overlaid on an accurate photograph is still an inaccurate product representation.
For captions and ALT, describe what the image shows in context. Use natural product terms without stuffing unrelated keywords or claiming unseen features. Do not fabricate performance, certification or customer feedback to make the listing appear more persuasive. Keep the technical approval and the marketing copy review connected to the same product revision.

7. Maintain assets through changes and reorders
When material, hardware, colour or included accessories change, identify affected images and update the handover record. Archive the former version instead of allowing the buyer to select an outdated image by accident. A reorder may use the same style name while requiring new photographs of a revised detail.
Track what was delivered and which version the buyer approved. Do not promise higher conversion or guaranteed exposure from a particular shoot. The goal is clear, accurate product communication and a usable asset set. Keep any real customer case or review separate unless Donna provides authorization and evidence for publication.
Prepare a project-specific enquiry
Send the current drawing or tech pack, measured dimensions, intended carry contents, material references, component list, colour breakdown and proposed order quantities. Identify the sales destination and any buyer-required testing or packaging documentation. Separate mandatory requirements from design preferences, and explain which decisions remain open. This lets the factory review a real development scope rather than make assumptions from a reference photograph.
Ask the quotation to identify the selected construction, sample scope, material exceptions, packaging, delivery basis and validity conditions. Confirm who approves the physical sample and which revision becomes the production baseline. If a component changes, request an impact review before accepting the replacement. Keep commercial approval separate from technical approval: an attractive unit price does not establish that the revised bag meets the agreed use or inspection requirements.
Related buyer guides
Continue with product specification checklist, private-label preparation guide.
Frequently asked questions
Can we photograph a development prototype?
Yes for an identified development purpose. Do not imply it is the final supplied product if components or construction remain temporary.
Can AI images replace real SKU photographs?
Do not present generated illustrations as evidence of the actual product. Use accurate photographs of the accepted sample for product representation.
Does consistent lighting guarantee colour matching?
No. Screens vary, and technical colour approval needs physical references and agreed conditions. Photography supports communication.
Which views should the buyer request?
Choose views that answer shape, access, interior and component questions for the actual bag. Identify included accessories clearly.
Can one image format serve every platform?
Confirm current destination requirements and create suitable crops from masters. Avoid stretching the bag or obscuring key details.
When do product images need replacing?
Review them whenever the accepted material, colour, hardware, layout or included accessories change. Keep the image revision tied to the product.
What are Kaishi’s order, sample and payment terms?
Kaishi Bag Factory is based in Baigou, China and has worked in OEM/ODM since 2008. Standard MOQ is usually 300 pieces per style. A 200-piece first order may be evaluated individually without a guarantee; 100 pieces is usually not feasible. Mixed styles and reorders do not automatically qualify for lower minimums. Samples are prepaid and non-refundable, without automatic bulk-order credit. Payment is T/T only, usually 50% deposit and 50% before shipment. Timing depends on design, materials, sample approval and quantity. Any NDA and project-specific conditions require agreement.
Sources and next step
Sources checked on 7 October 2026: Shopify official product photography guide and Shopify product media documentation. Supplier examples explain general principles, not Kaishi equipment ownership, certification or guaranteed availability. The purchasing worksheets are suggested buyer practices rather than quoted standard requirements.
Contact Kaishi Bag Factory with your specification and quantities for a project review. Email donna@Kaishibagfactory.com or message Donna on WhatsApp.